The Timelapse+ STUDIO plugin is a revolutionary suite of essential tools for blazing fast post-processing. Incredibly Intelligent and easy to use, all without leaving Lightroom.
Buy now ($49)
60 days money back guarantee!
The Timelapse+ STUDIO plugin is a revolutionary suite of essential tools for blazing fast post-processing. Incredibly Intelligent and easy to use, all without leaving Lightroom.
60 days money back guarantee!
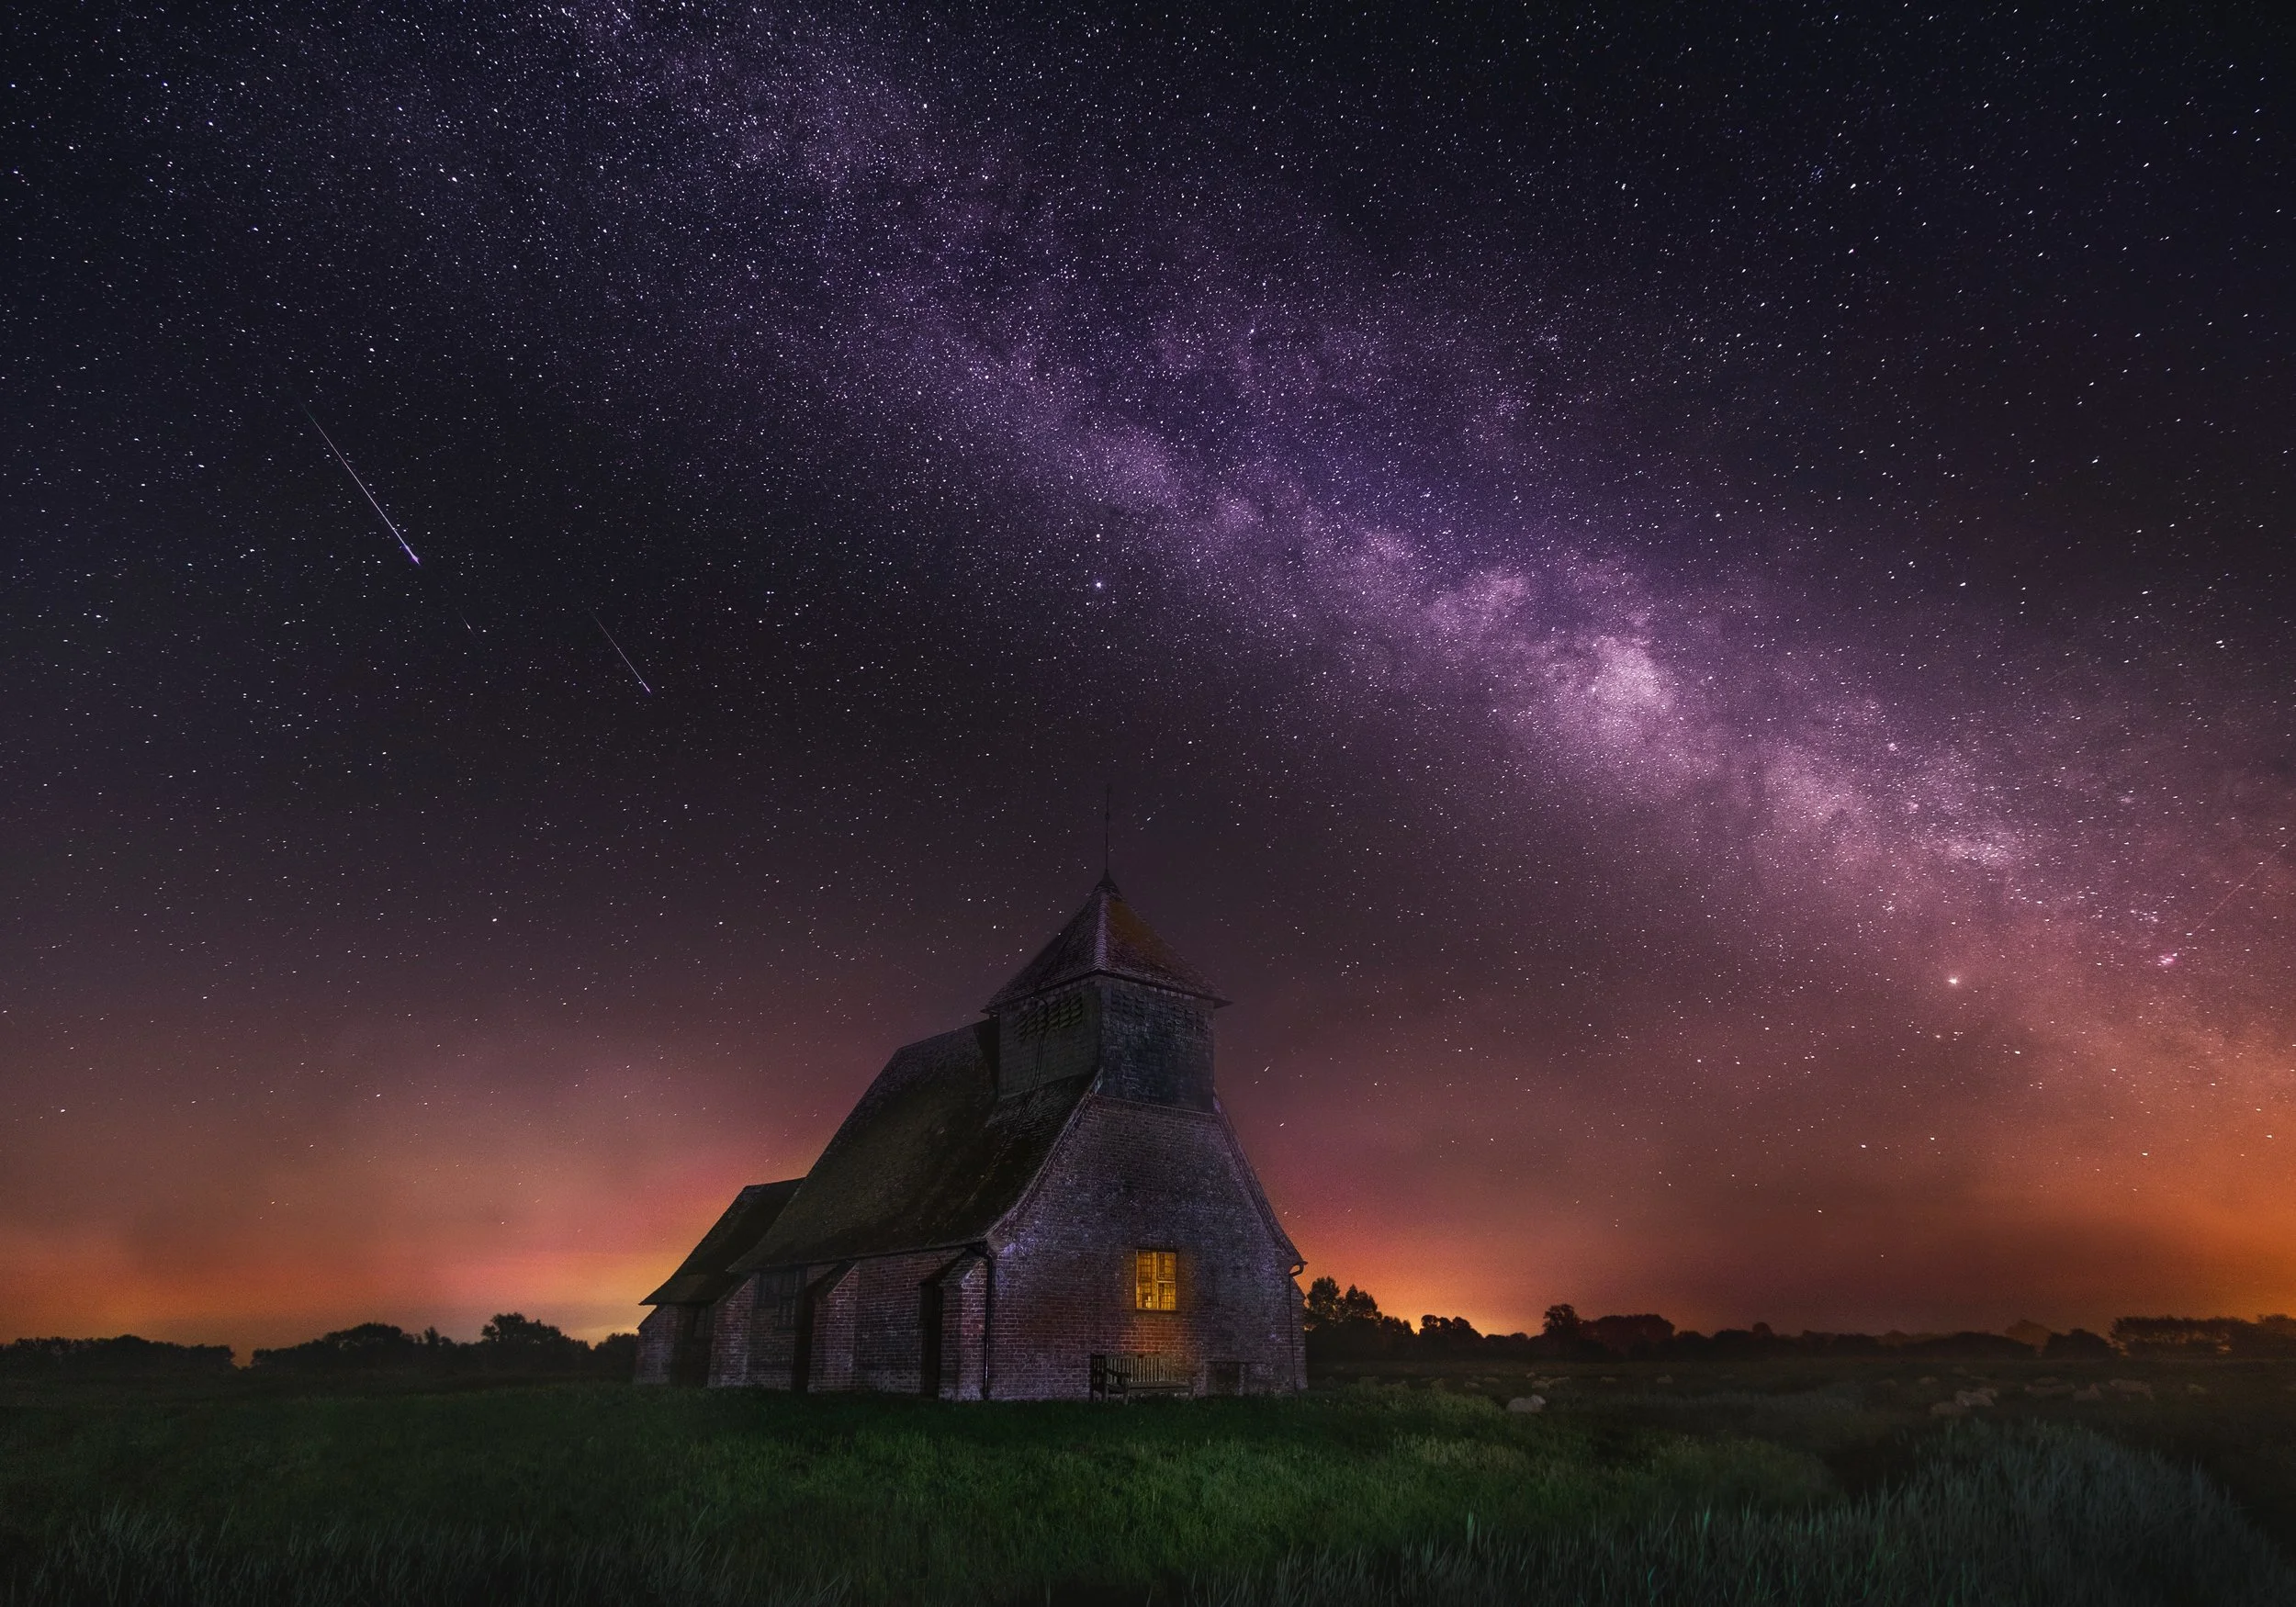
"As a professional time-lapser I absolutely love the Timelapse+ STUDIO plugin for Lightroom as it is very easy to use yet very efficient. In a few steps I am able to create stunning and smooth astro time-lapses of the Milky Way or the aurora without having to worry about the metadata that goes behind the whole sequence."


Quickly detect time-lapse sequences in the current library view (or your entire library if you need to get organized) and create a collection for each one. No more guessing where the first frame starts.

Sunsets, holy-grail sequences and anything with changing conditions typically need white balance and other settings blended across many frames. The Keyframe feature will intelligently identify transitions and mark them with a star, so you can focus on editing and be confident of the results.
STUDIO will select the minimum number of keyframes for a good result. And since STUDIO isn’t controlling, you have the freedom to star additional images if you want more keyframes for creative editing.

Once you've edited each of the keyframed (starred) images, use the Blend tool to smoothly blend the settings between each keyframe. It can also animate the crop for a Ken-Burns effect or even animate brushes and gradients for crazy stuff. Feel free to edit however you want -- the blend tool will ensure a smooth output.
In-camera exposure changes are handled automatically, too -- if you changed any camera settings during the time-lapse, don't worry -- the blend tool will feather each change across multiple frames so you get flicker-free results without abrupt changes.

Get a quick idea of how the time-lapse looks before waiting for it to export and render. Playback at various speeds and even scrub through frames.
60 days money back guarantee!
Nope! We wanted STUDIO to help everyone. So it works with exposure rampers like the Timelapse+ VIEW, RamperPro, DSLRDashboard, and even a basic intervalometer. No external metadata or additional steps are needed for smooth holy-grail processing. You can skip dealing with the XMPs and let the plugin handle the smoothing. You're even able to change the exposure on keyframes!
A couple months after the launch of the Timelapse + VIEW, I was meeting in person with a customer to walk them through post-processing and I realized that for many people if they're not already familiar with it, timelapse post-processing can be complicated and pretty hard to follow. It's very easy to mess up and get disappointing results.
So it got me thinking about what I could do to make it simpler for the most common use case. So in early 2017, I finally came up with this plugin for Lightroom. With the Timelapse+ STUDIO plugin, the common tasks in post-processing time-lapse are all automated, and you don't have to use XMPs. Just import the photos, and let the plugin guide you through the rest.
To be honest, if you already have a workflow you like, you may not gain anything from using STUDIO. I still hope you try it and give me some feedback how I can improve it.
Even thought this was made mainly for those starting out that just want great results with a minimal learning curve. It has, however, been really rewarding to see seasoned time-lapse veterans use STUDIO and fall in love with it!
Download the free trial and let me know what you think. You can find information on how to install and register the STUDIO plugin, along with instructions for using it here
P.S. If you end up posting on social media, use the hashtag #TimelapsePlusStudio so I can see how you’re using it.
—Elijah

Elijah Parker, CEO & Founder
How you edit is up to you! STUDIO can handle local corrections including gradients, and brushes and more.
Familiar controls mean you you won’t have to waste hours in forums or reading tutorials trying to learn how to use another application.
Full manual override on anything. Each step is optional and can be used alone as well.
You can find the instructions for installation, registration, and other information for STUDIO here
Well, if you're only doing short time-lapse clips that are during the day or the night, but not sunsets, sunrises or any other changing light conditions you might not absolutely need it. Still, even in those scenarios, this plugin can be used for creative animation such as the Ken Burns effect, as well as just using the group feature to quickly organize your photos by time-lapse. On the other hand, if you're doing any kind of day-to-night or night-to-day, whether manually, bulb ramping, exposure ramping, etc, this plugin becomes essential for blending changes in white balance or exposure across a series of frames.
Yes, when first using the plugin you'll be prompted to start a free 7-day trial.
Only to initially register it. After that, it will fully function without an internet connection.
No, it's specifically a Lightroom plugin and requires a current version of Lightroom. If you haven't done time-lapse processing in Lightroom before, I recommend downloading the trial of both Lightroom and this plugin and checking it out. It's a pretty efficient workflow.
Just download and install the plugin and on first use you'll be prompted to login with the same email and password from your app.view.tl account. The first login will validate and register the plugin. Note that the app.view.tl account must have a VIEW device paired with it to validate the plugin (see Information -> Registration & App on the VIEW for instructions).
Yes! There are no limits on gradients -- settings on a gradient can be faded across keyframes, the gradient position/rotation can be animated, and there can be any number of gradients. If gradients are added in a middle keyframe, it will be faded in automatically from the prior keyframe. Same goes for fading out. This all applies to any local adjustments as well, such as brushes, masks and cloning.
Technically no, but it does smooth in-camera exposure changes to eliminate flicker from that source, so for exposure ramping intervalometers with a low or locked aperture, this should be all that is needed. This method is purely based on metadata which allows it to be very fast. It does not analyze images for luminance changes, and therefore cannot correct flicker caused by something such as aperture variation, and there are no immediate plans to add this. For true deflickering, try TLDF, GBDeflicker, LRTimelapse, or Sequence.
No, you'll need to export the image sequence from Lightroom and render it with another program outside Lightroom. If you're using After Effects or Motion, the image sequence can be loaded into them directly. LRTimelapse also has good integration with Lightroom for rendering and more. On Mac, I highly recommend TLDF. Sequence is also nice simple Mac program that can be used for rendering the exported images.
I try to avoid direct comparisons, but this one comes up a lot. No, it does not replace LRTimelapse; it does not render or do visual deflickering, but it does have a bit of overlap. Also, unlike this plugin, LRTimelapse supports Bridge/ACR workflows as well. I wrote this to simplify support for postprocessing in Lightroom so that there would be a quick and easy solution that gets great results for the common use-cases rather than a comprehensive application for every situation -- for that I would recommend LRTimelapse.
Lightroom 6.0 and up, which includes Lightroom CC. Lightroom 5 and below are not supported.
You can use the plugin on up to 3 different computers.